# Nathacha
**Nom du projet :** Porte Savon Nathacha
**Introduction** :
- **Contexte + Objectifs :** Dans le cadre de l'UE MU5MN045 - Outils technologiques de la conception innovante, nous **allons créer un modèle 3D de porte-savon en deux parties (grille et contenant), le préparer pour l'impression et l'imprimer. Nous allons donc voir les concepts suivants : Modélisation 3D, Modélisation 2D, Impression 3D.**
- **Date de début : Février**
- **Date de fin estimée : Mars**
**Matériaux / Outils / Machines : Nous allons utiliser plusieurs outils et une imprimante 3D.**
- **Pour créer un ou plusieurs éléments 2D --> Inkscape**
- **Pour la modélisation 3D --> Tinkercad**
- **Pour slicer le modèle 3D --> Ideamaker**
**Construction / Journal de bord :**
**14/02/2023**
**Nous commençons par créer le grille du porte en 2D sur Inkscape.**
**1ère étape : Télécharger Inskcape via [https://inkscape.org/release/inkscape-1.2.2/windows/64-bit/msi/?redirected=1](https://inkscape.org/release/inkscape-1.2.2/windows/64-bit/msi/?redirected=1)**
**2éme étape : J'ai ouvert une nouveau document et défini les paramètres de 150x100mm pour la page.**
**Suite à cela, je crée un rectangle de 130x90mm en utilisant les paramètres sur le haut de la fenêtre L et H, afin que la taille soit assez grande pour contenir mes savons.**
**[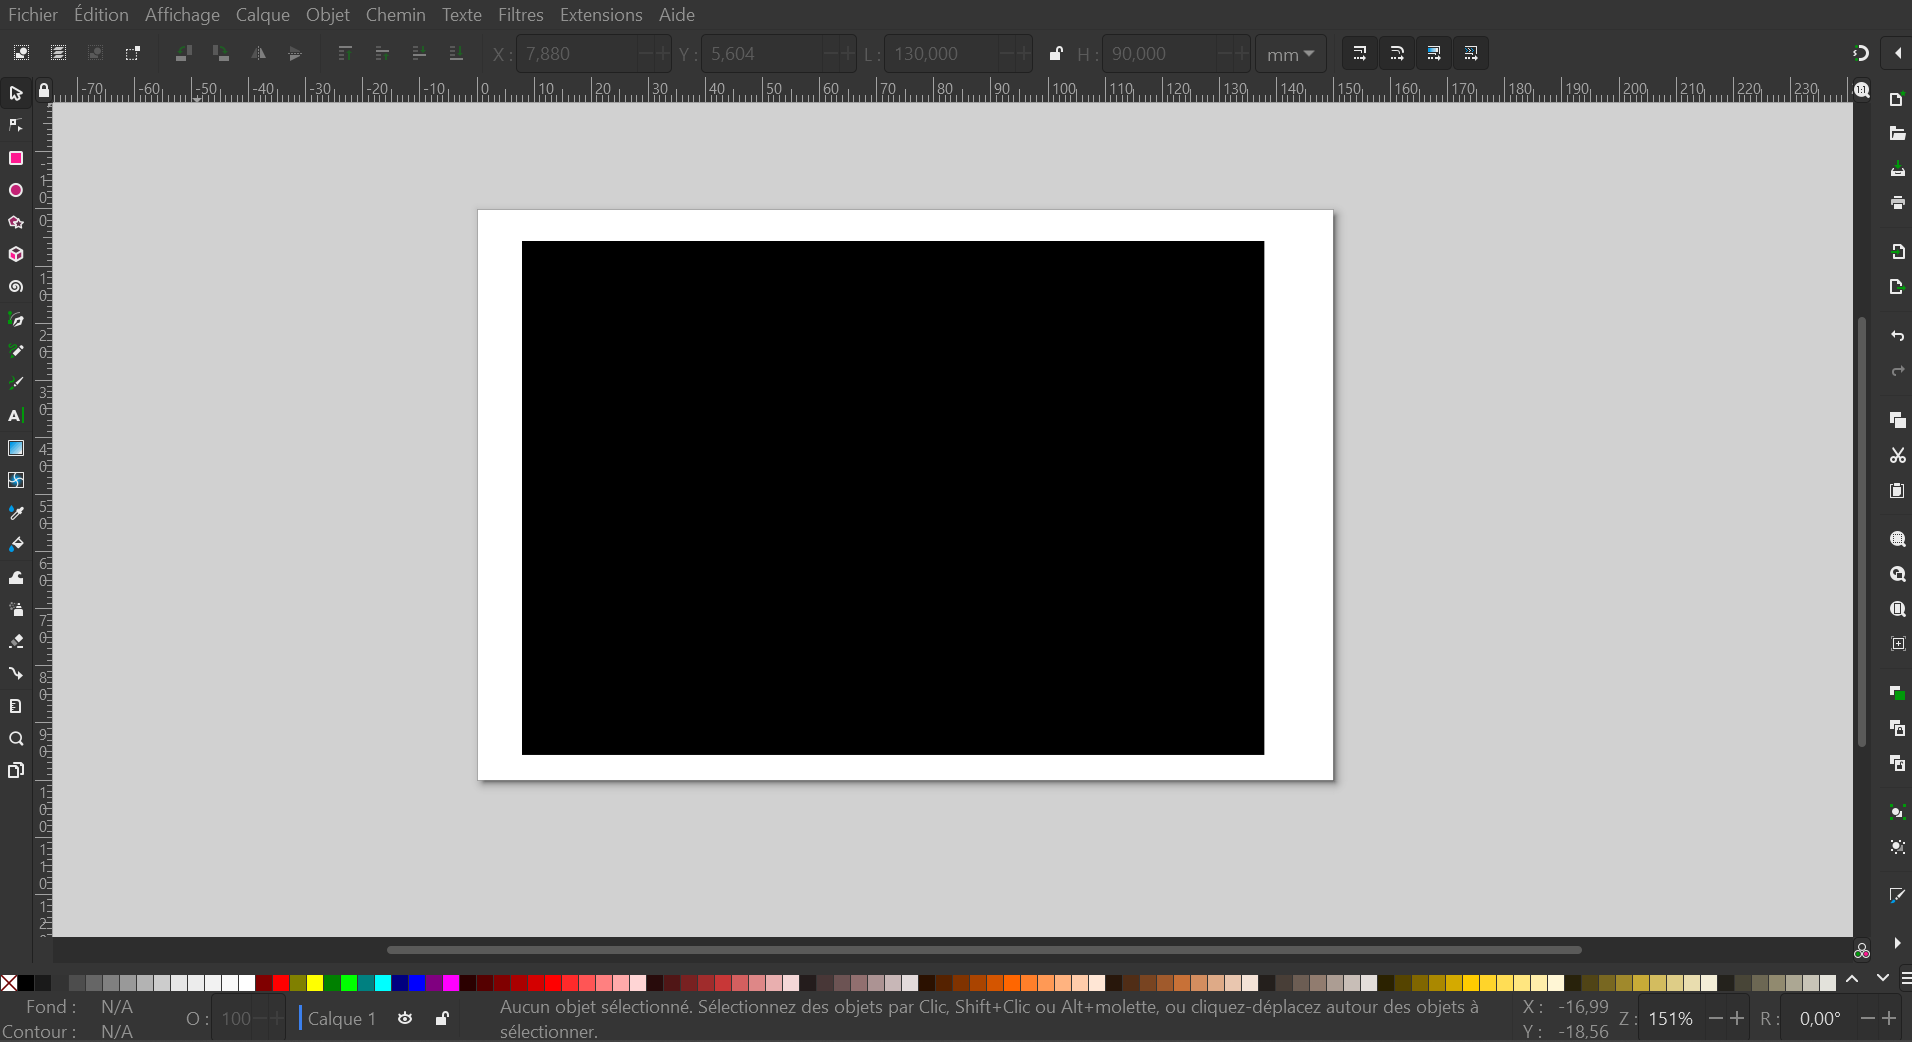](https://wiki.fablab.sorbonne-universite.fr/BookStack/uploads/images/gallery/2023-02/image-1676598212449.png)**
**Grâce à l'onglet Objet > Fond et contour, je défini un nouveau fond et un style+couleur de contour.**
**[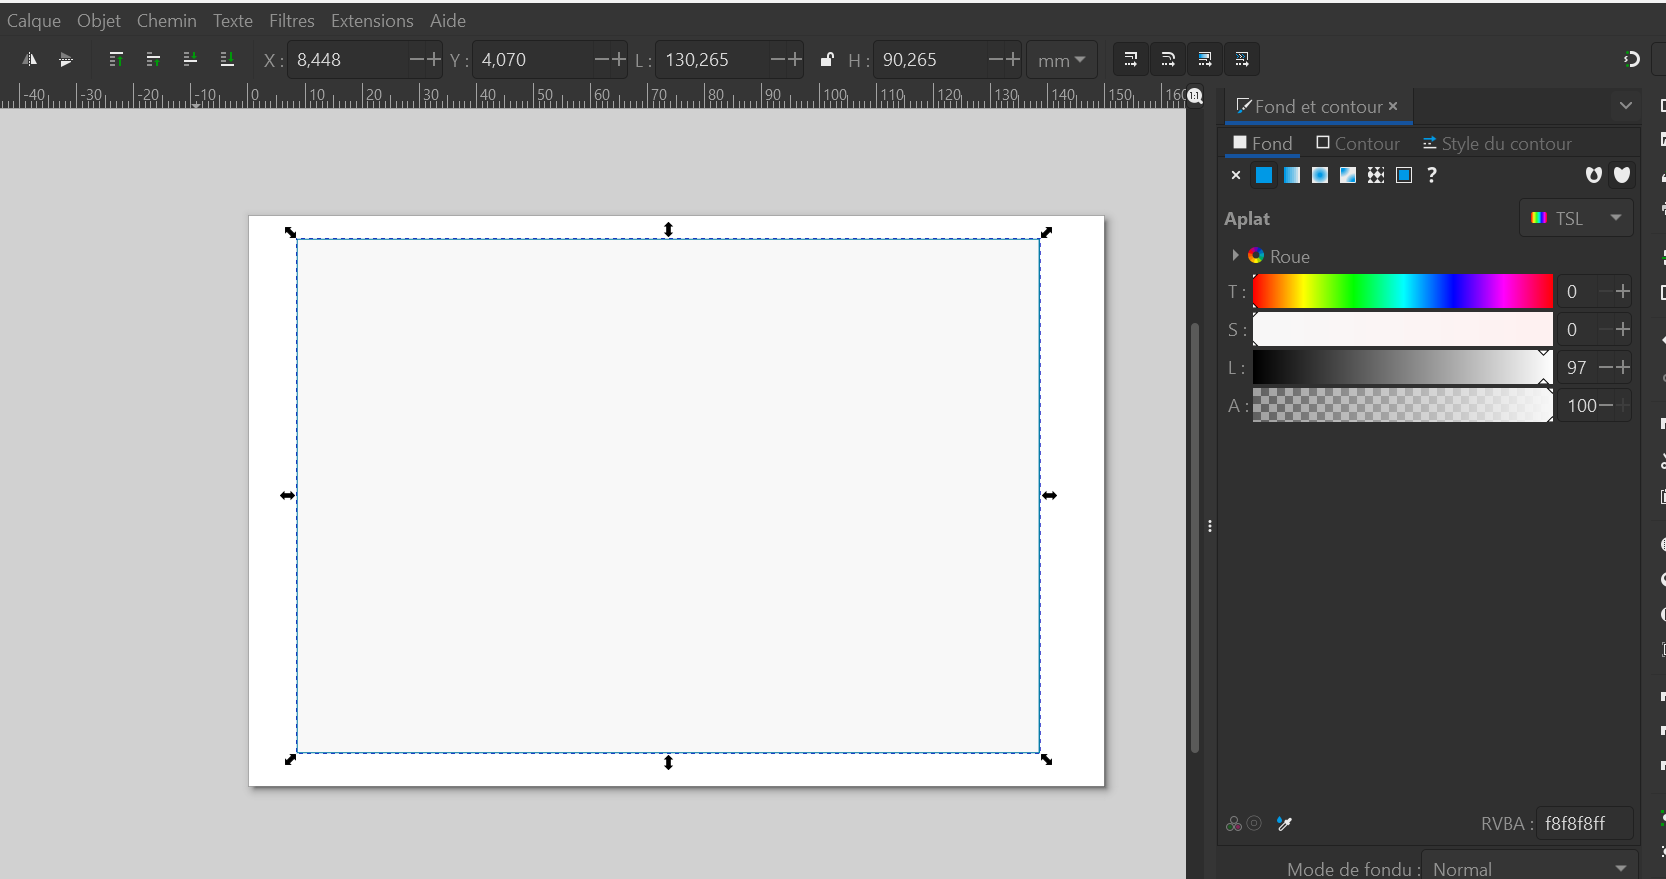](https://wiki.fablab.sorbonne-universite.fr/BookStack/uploads/images/gallery/2023-02/image-1676598701186.png)**
**[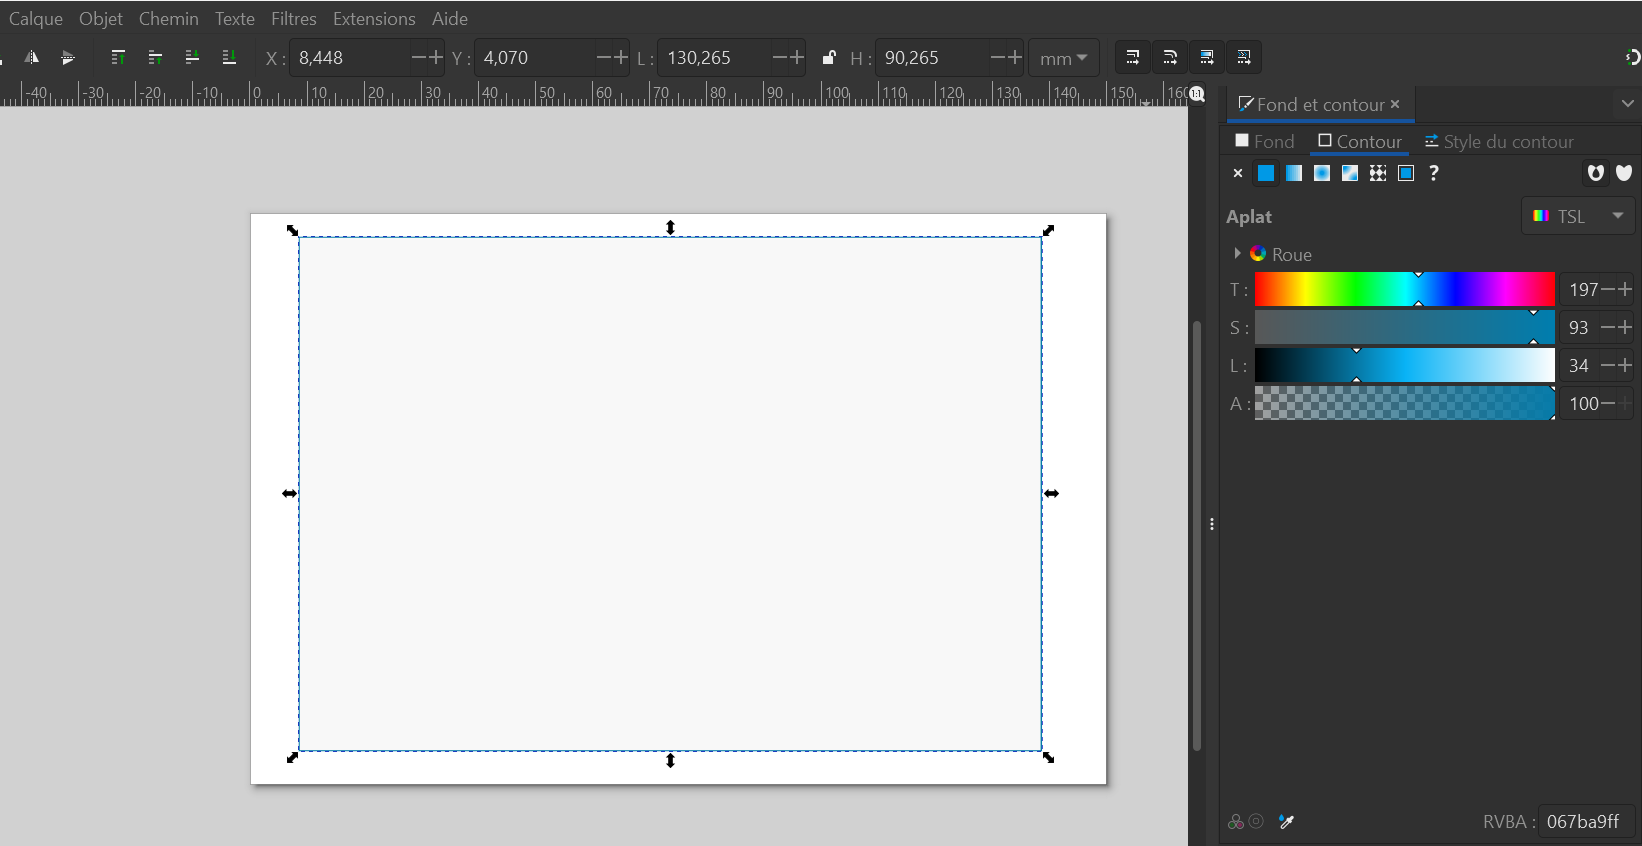](https://wiki.fablab.sorbonne-universite.fr/BookStack/uploads/images/gallery/2023-02/image-1676598727547.png)**
**Grâce à la fonctionnalité créer des polygones sur le côté gauche, je crée un design que je superpose pour obtenir une disposition qui me plaît.**
**[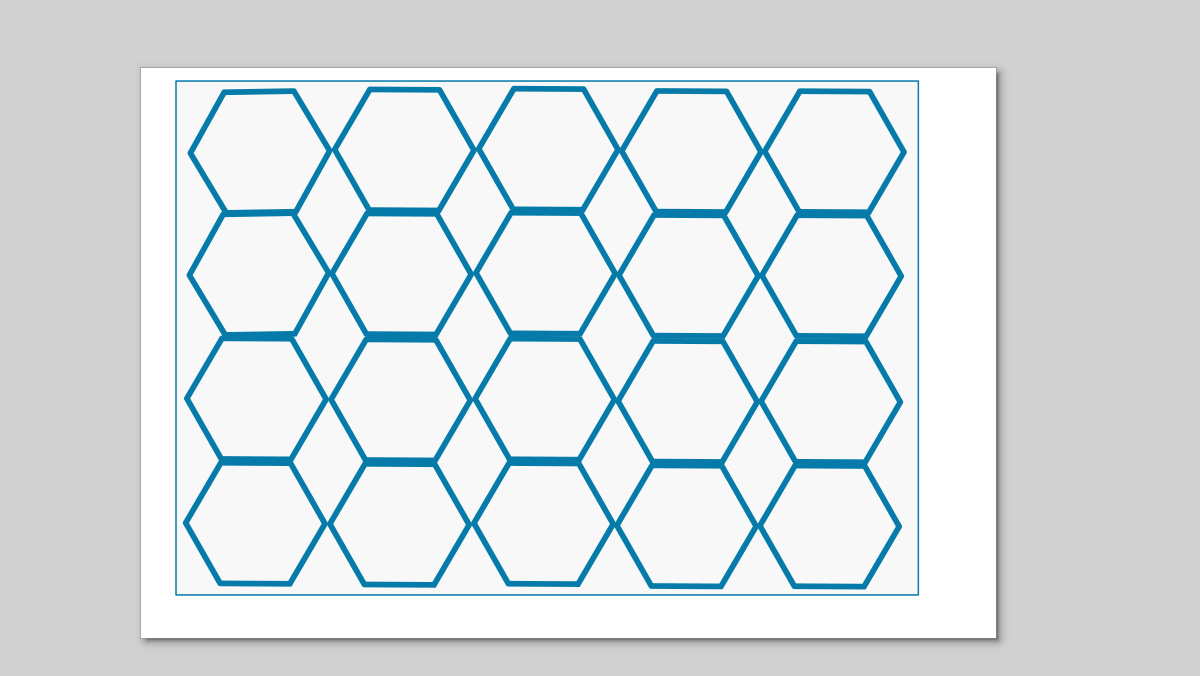](https://wiki.fablab.sorbonne-universite.fr/BookStack/uploads/images/gallery/2023-02/image-1676600223492.png)**
**Ensuite j'utilise la fonction aligner et distribuer pour que ce soit parfaitement aligner.**
**[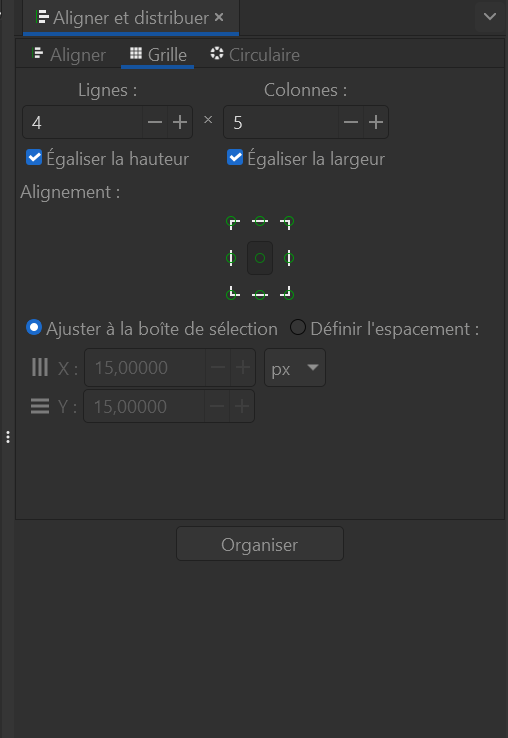](https://wiki.fablab.sorbonne-universite.fr/BookStack/uploads/images/gallery/2023-02/image-1676600339144.png)**
**3ème étape : J'ajuste la taille du rectangle en fonction des polygones. Je télécharge le ficher en svg. J'ouvre mon compte Tinkercad > création conception 3D dans lequel j'importe mon design en ficher svg d'inkscape + un design choisi sur thingiverse pour le socle du porte savon --> https://www.thingiverse.com/thing:404028**
**[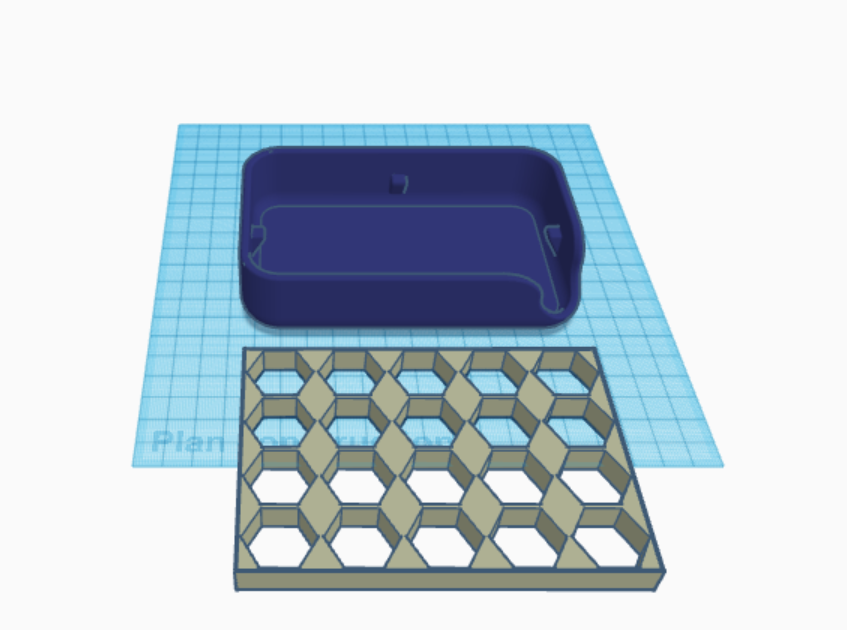](https://wiki.fablab.sorbonne-universite.fr/BookStack/uploads/images/gallery/2023-02/image-1676601122185.png)**
**4ème étape : En sélectionnant les deux objets et la fonctionnalité en haut a droite aligner je mets la grille à la bonne hauteur et bonne position par rapport au socle.**
**[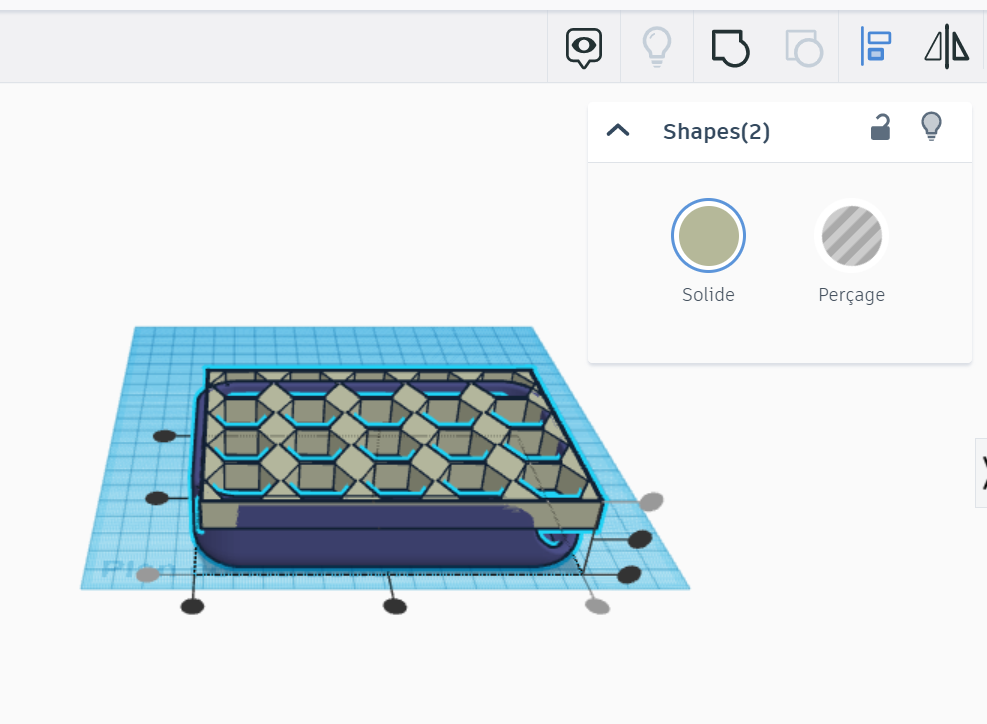](https://wiki.fablab.sorbonne-universite.fr/BookStack/uploads/images/gallery/2023-02/image-1676601274011.png)**
**06/03/2023**
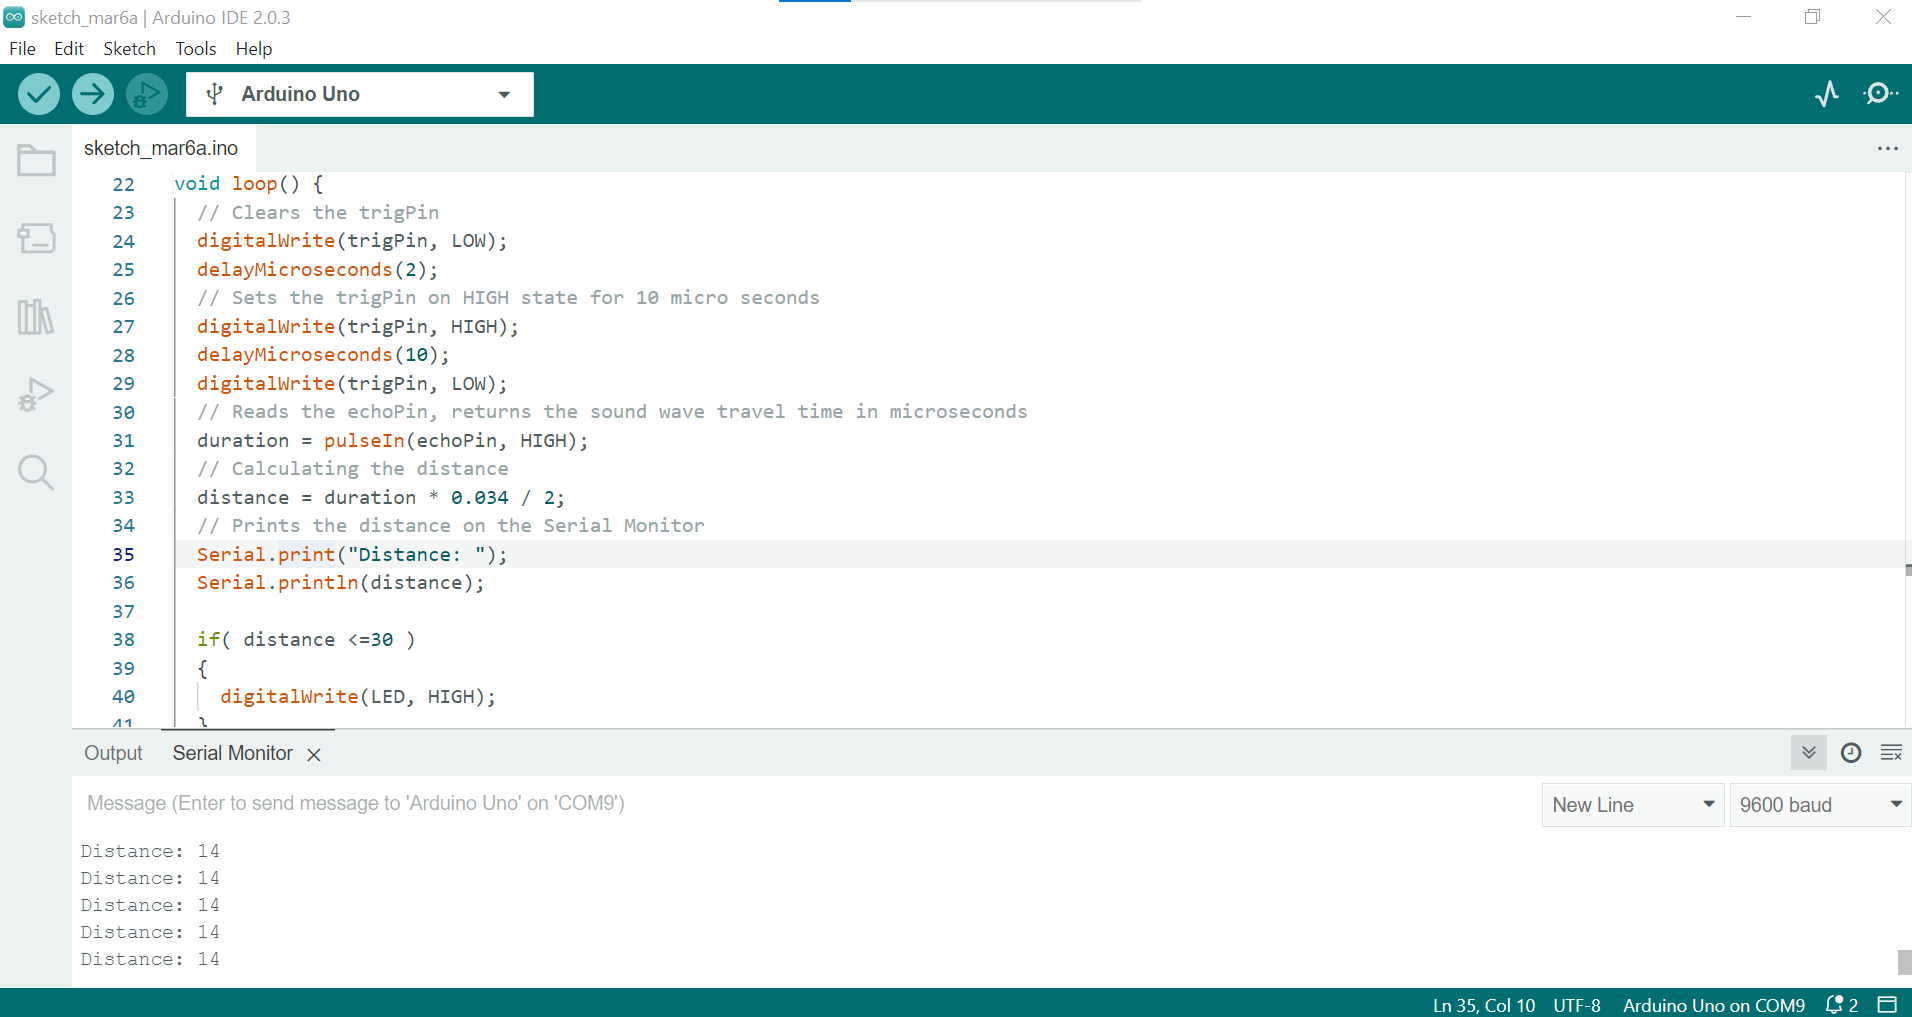
Semaine 2 - Création d'un circuit électronique
[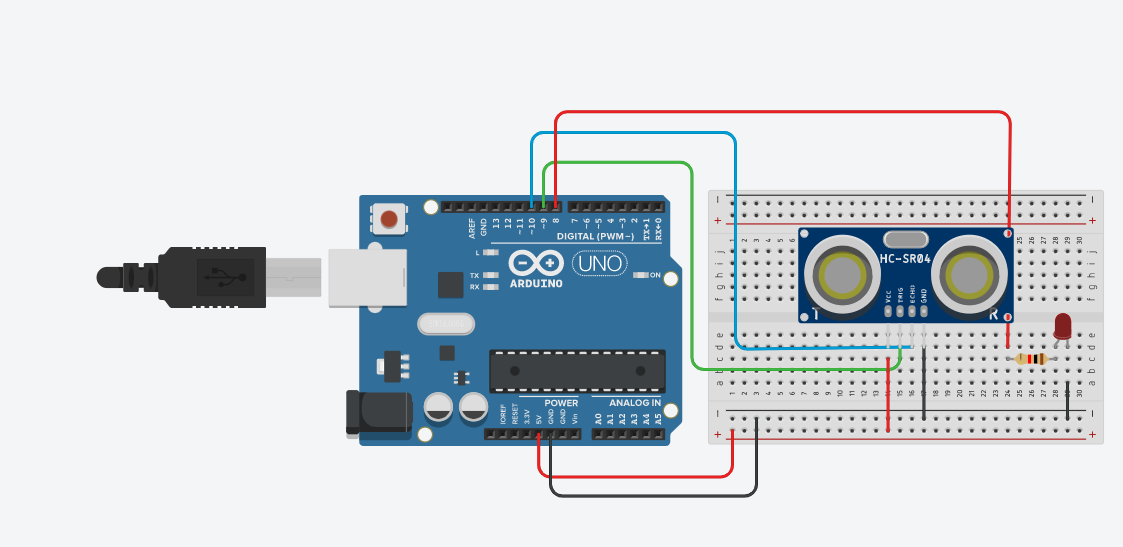](https://wiki.fablab.sorbonne-universite.fr/BookStack/uploads/images/gallery/2023-03/image-1678113303727.png)
```C++
/*
Ultrasonic Sensor HC-SR04 and Arduino Tutorial
by Dejan Nedelkovski,
www.HowToMechatronics.com
*/
// defines pins numbers
#define LED 8
const int trigPin = 9;
const int echoPin = 10;
// defines variables
long duration;
int distance;
void setup() {
pinMode(trigPin, OUTPUT); // Sets the trigPin as an Output
pinMode(echoPin, INPUT); // Sets the echoPin as an Input
pinMode(LED, OUTPUT);
Serial.begin(9600); // Starts the serial communication
}
void loop() {
// Clears the trigPin
digitalWrite(trigPin, LOW);
delayMicroseconds(2);
// Sets the trigPin on HIGH state for 10 micro seconds
digitalWrite(trigPin, HIGH);
delayMicroseconds(10);
digitalWrite(trigPin, LOW);
// Reads the echoPin, returns the sound wave travel time in microseconds
duration = pulseIn(echoPin, HIGH);
// Calculating the distance
distance = duration * 0.034 / 2;
// Prints the distance on the Serial Monitor
Serial.print("Distance: ");
Serial.println(distance);
if( distance <=30 )
{
digitalWrite(LED, HIGH);
}
else
{
digitalWrite(LED, LOW);
}
}
```
[](https://wiki.fablab.sorbonne-universite.fr/BookStack/uploads/images/gallery/2023-03/image-1678113344434.png)