Camille Chen
Séance 18/10/2023
Première séance nous avons appris à utiliser l'outil OpenScad. Voici ce qu'on a fait :
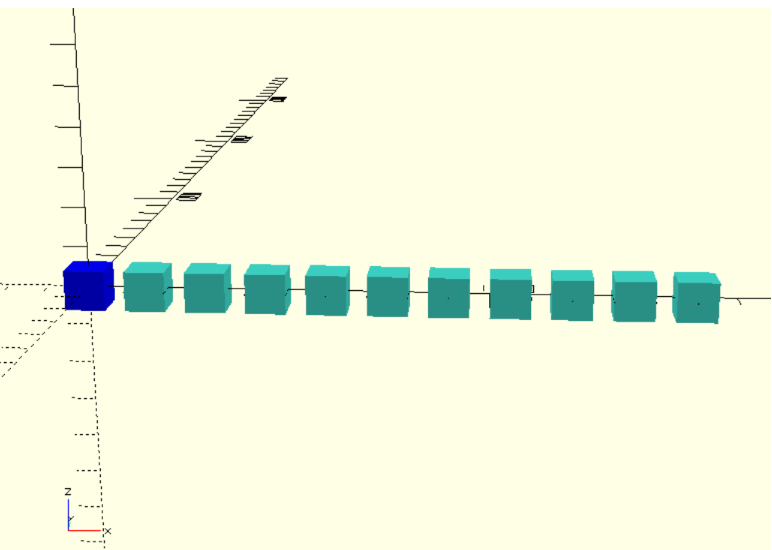
Le programme est le suivant :
d=5;
a=10;
color("blue") cube(a,center=true);
for(i=[1:1:10]) {
translate([i*(a+d),0,0]) color("cyan") cube(a,center=true);
}
C'était la première chose que nous avions faites : des cubes alignés.
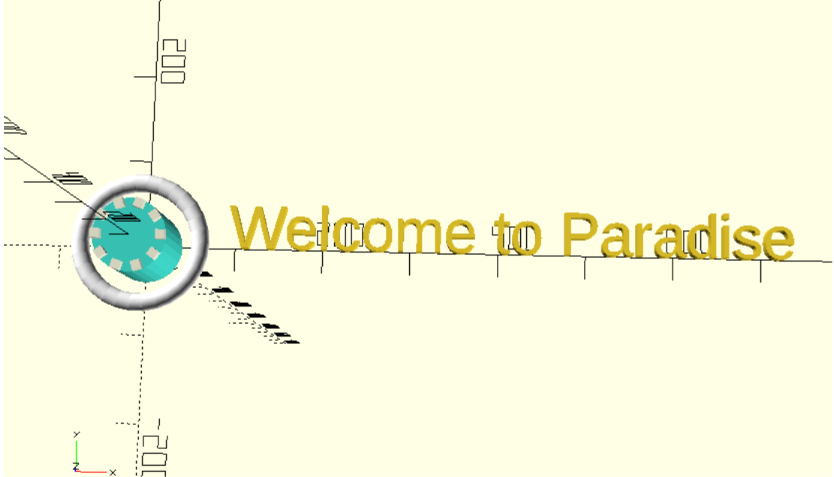
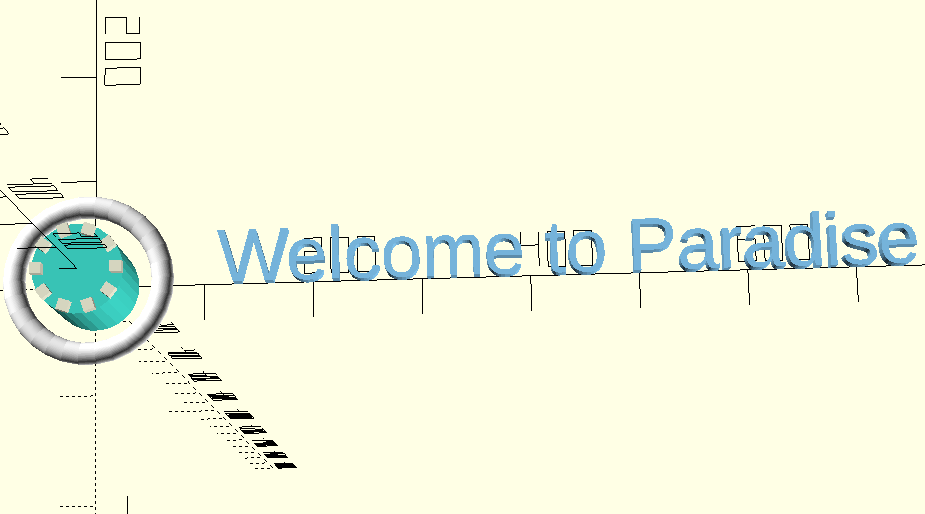
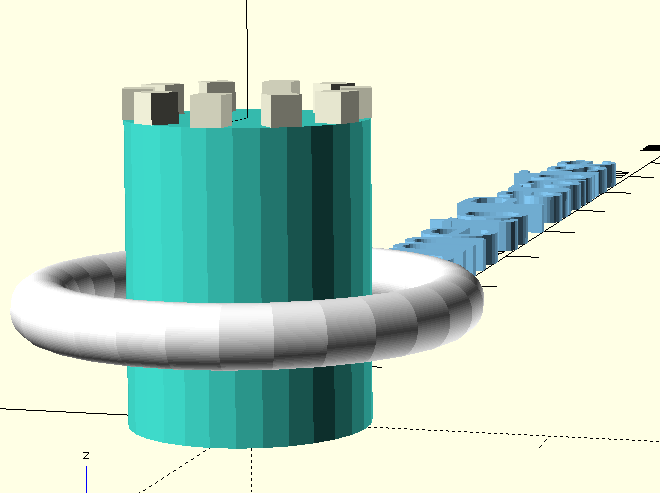
Ensuite, nous avons fait un cylindre avec au sommet des cubes pour faire une tour. Ensuite, je me suis permise de le décorer un peu à ma guise, voici le résultat :
Le programme est le suivant :
d=5;
a=10; // arrête des cubes
H=100; // hauteur de la tour
R=40; // rayon de la tour
N=10; // nombre de cubes
color("blue") cube(a,center=true);
for(i=[1:1:N]) {
rotate([0,0,i*360/N]) translate([(R-a/2),0,H+a/2]) color("beige") cube(a,center=true);
color("turquoise") cylinder(h=H,r=R);
}
color("white") rotate_extrude(convexity=100)
translate([67,40,52])
circle(r=10,$fn=100);
t=" Welcome to Paradise";
color("lightskyblue") linear_extrude(15) {
text(t,50);
}
color("darkslategray") {
linear_extrude(2) {
offset(4) {
fill() {
text(t,50);
}
}
}
}
Le but de cette première séance a été de nous familiariser avec ce nouvel outil. J'ai donc laissé mon esprit créatif prendre place.
27/10/2023 : 2e séance
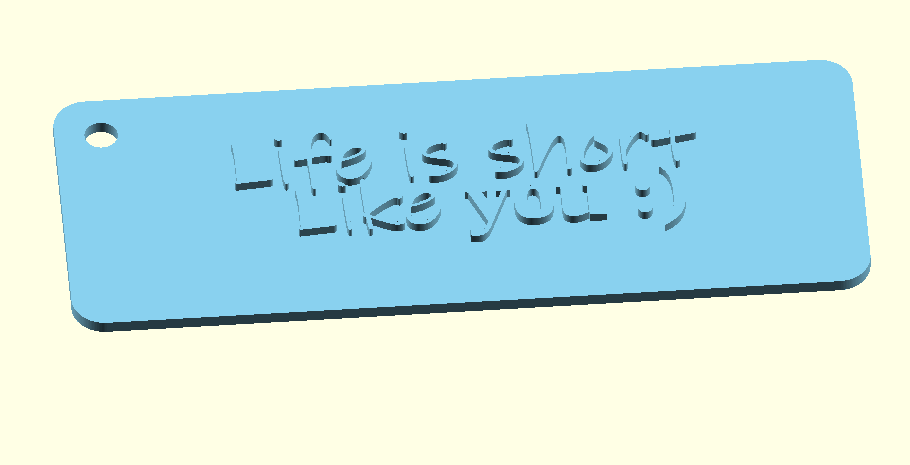
Pour cette séance, il fallait créer des objets qu'on voulait. J'ai choisi de créer un porte-clé car j'ai récemment cassé le mien.
Voici le résultat :
Le programme est le suivant :
$fn=127;
text1="Life is short";
text2="Like";
text3="you :)";
color("skyblue") difference(){
union(){
translate([-20,-3,0]) cube([50,40,2]);
hull(){
translate([-50-5,0,0])cylinder(r=5,h=2);
translate([50+5,0,0])cylinder(r=5,h=2);
translate([-50-5,40-5,0]) cylinder(r=5,h=2);
translate([50+5,40-5,0]) cylinder(r=5,h=2);
}
linear_extrude(height=3.5){
translate([0,20,0]) text(text1, size=10, halign="center", font="InkFree:style=bold");
translate([-15,10,0]) text(text2, size=10, halign="center", font=signfont,font="InkFree:style=bold");
translate([17,10,0]) text(text3, size=10, halign="center", font=signfont,font="Elephant:style=bold");
}
}
translate([-50-3,33,-0.5])cylinder(r=2.5,h=3);
Pour mon deuxième objet, je n'avais pas d'idée donc j'ai laissé mon imagination faire, et je me suis arrêtée à ça car je n'avais plus d'idée.
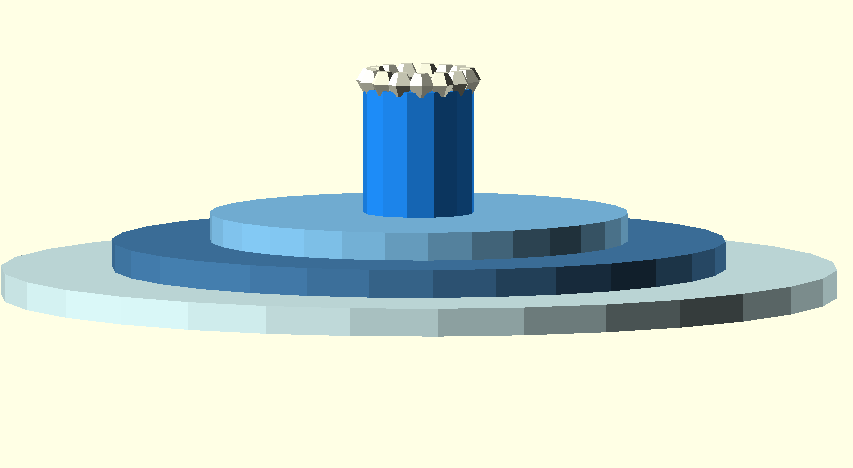
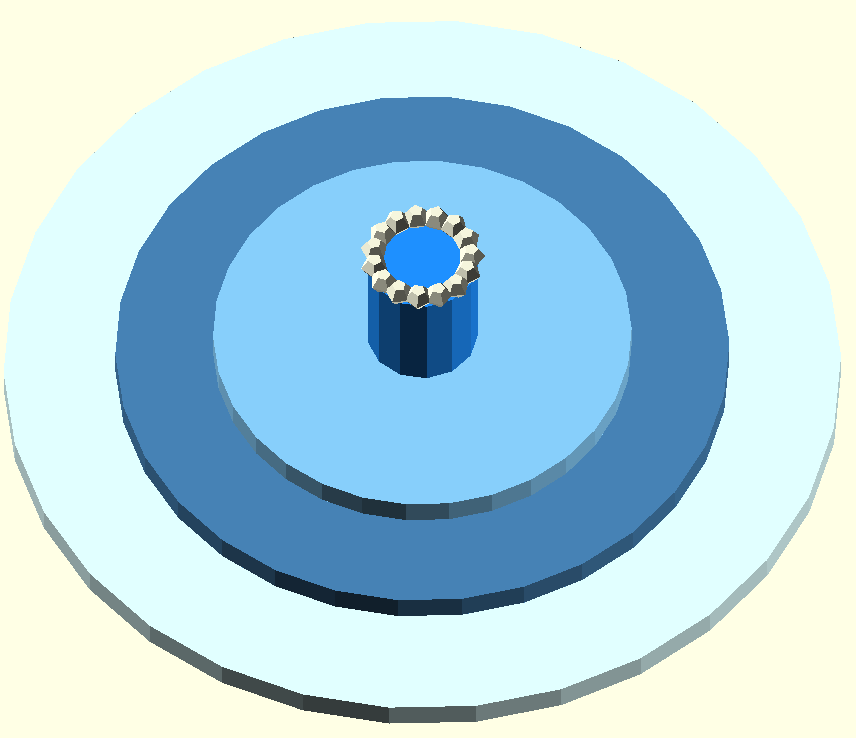
Le programme est le suivant :
// Parameters
base_height = 2; // Height of the base
base_radius = 30; // Radius of the base
platform_height = 3; // Height of the platform
platform_radius = 22; // Radius of the platform
rotation_height = 2; // Height of the rotation cylinder
rotation_radius = 15; // Radius of the rotation cylinder
// Base
color("lightcyan") cylinder(h = base_height, r1 = base_radius, r2 = base_radius);
// Platform
translate([0, 0, base_height])
color("steelblue") cylinder(h = base_height, r1 = platform_radius, r2 = platform_radius);
// Rotation Cylinder
translate([0, 0, base_height + base_height])
color("lightskyblue") cylinder(h = rotation_height, r1 = rotation_radius, r2 = rotation_radius);
// Hole for Insert
d=4;
a=1;
H=15;
R=4;
N=15;
union(){
for(i=[1:1:N]){
rotate([0,0,i*360/N]) translate([(R-a/2),0,H+a/2]) color("beige") sphere(a,center=true);
}
color("dodgerblue") cylinder(h=H,r=R);
}
color("blue"){
linear_extrrude(2){
offset(4) {
}
}
}
