Can GENIS
Objet 1 : Pour Organiser Les Cables
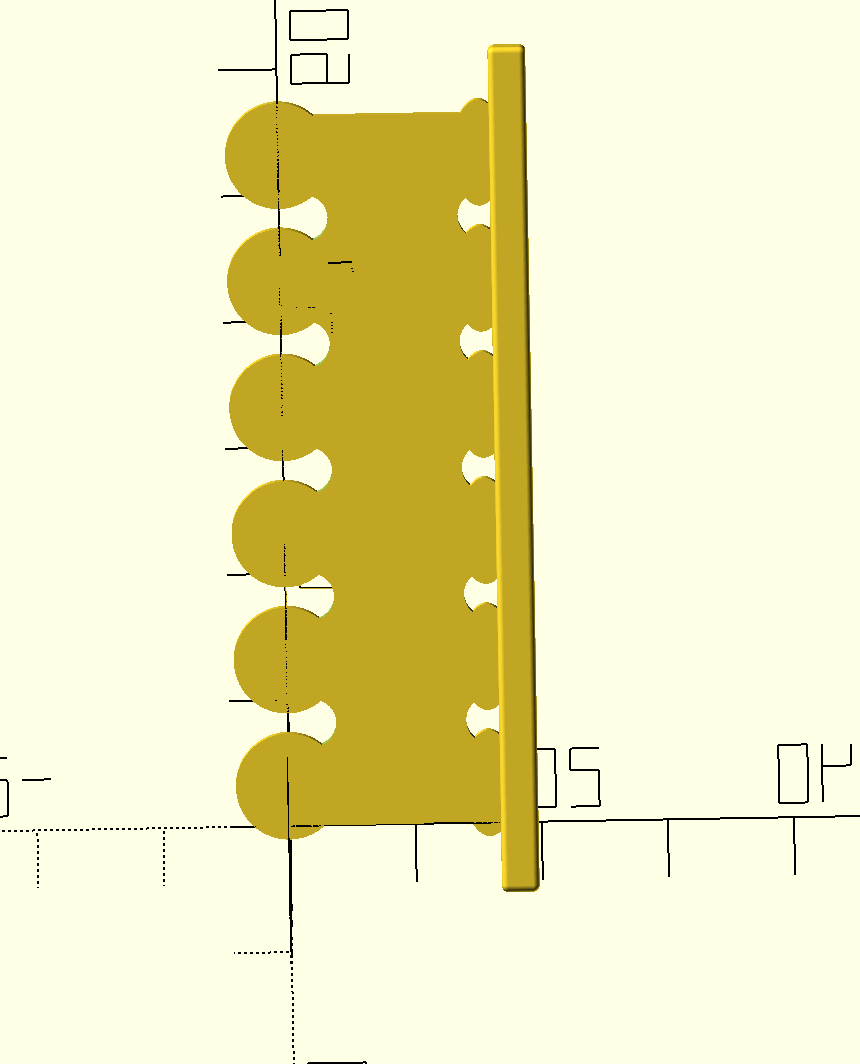
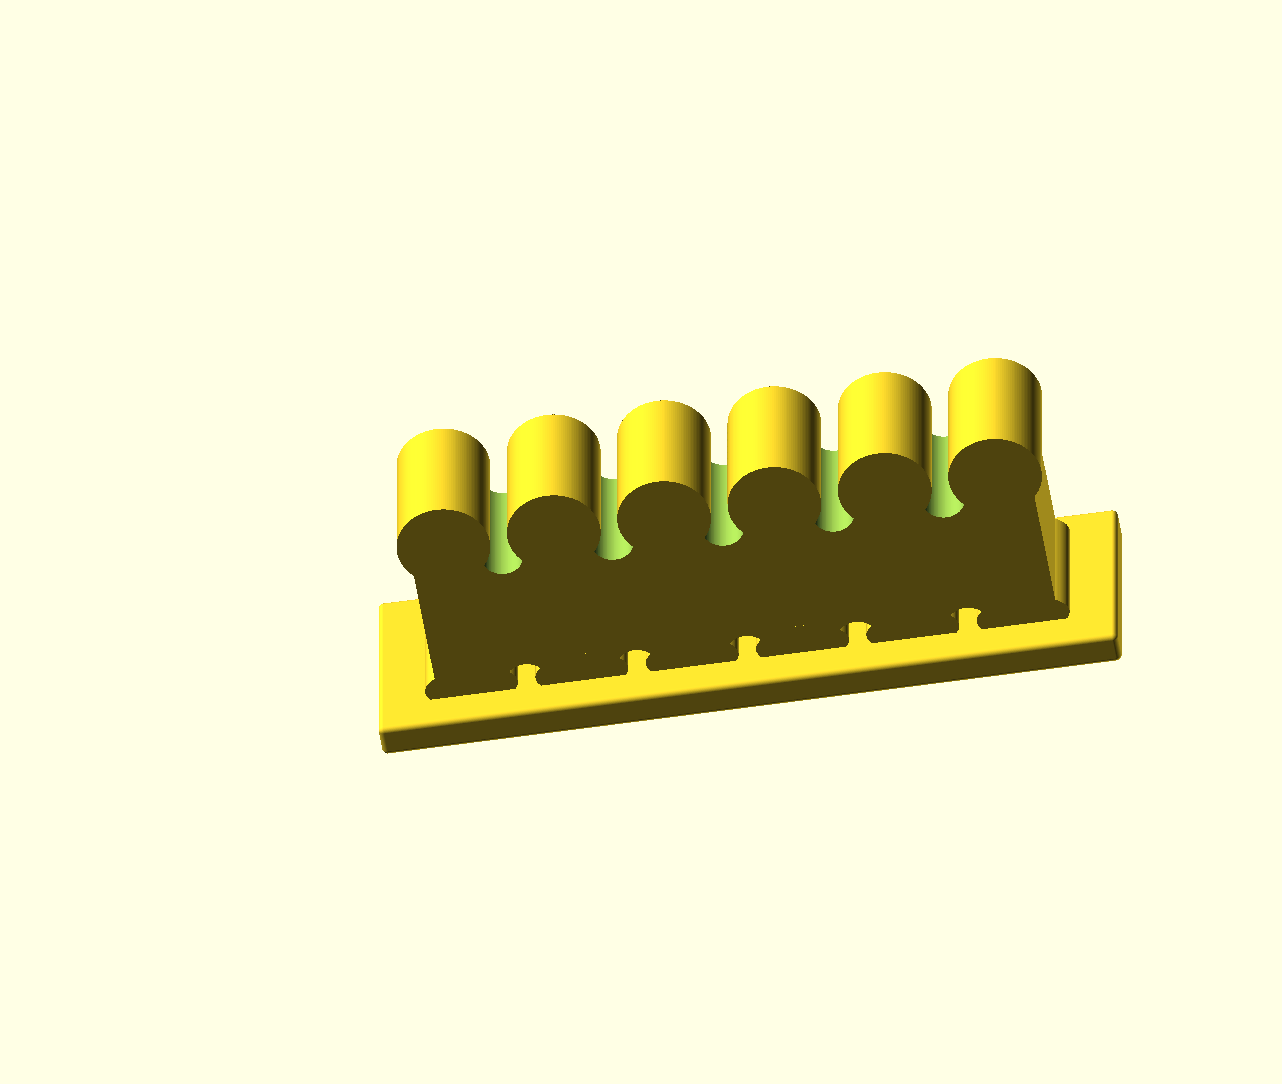
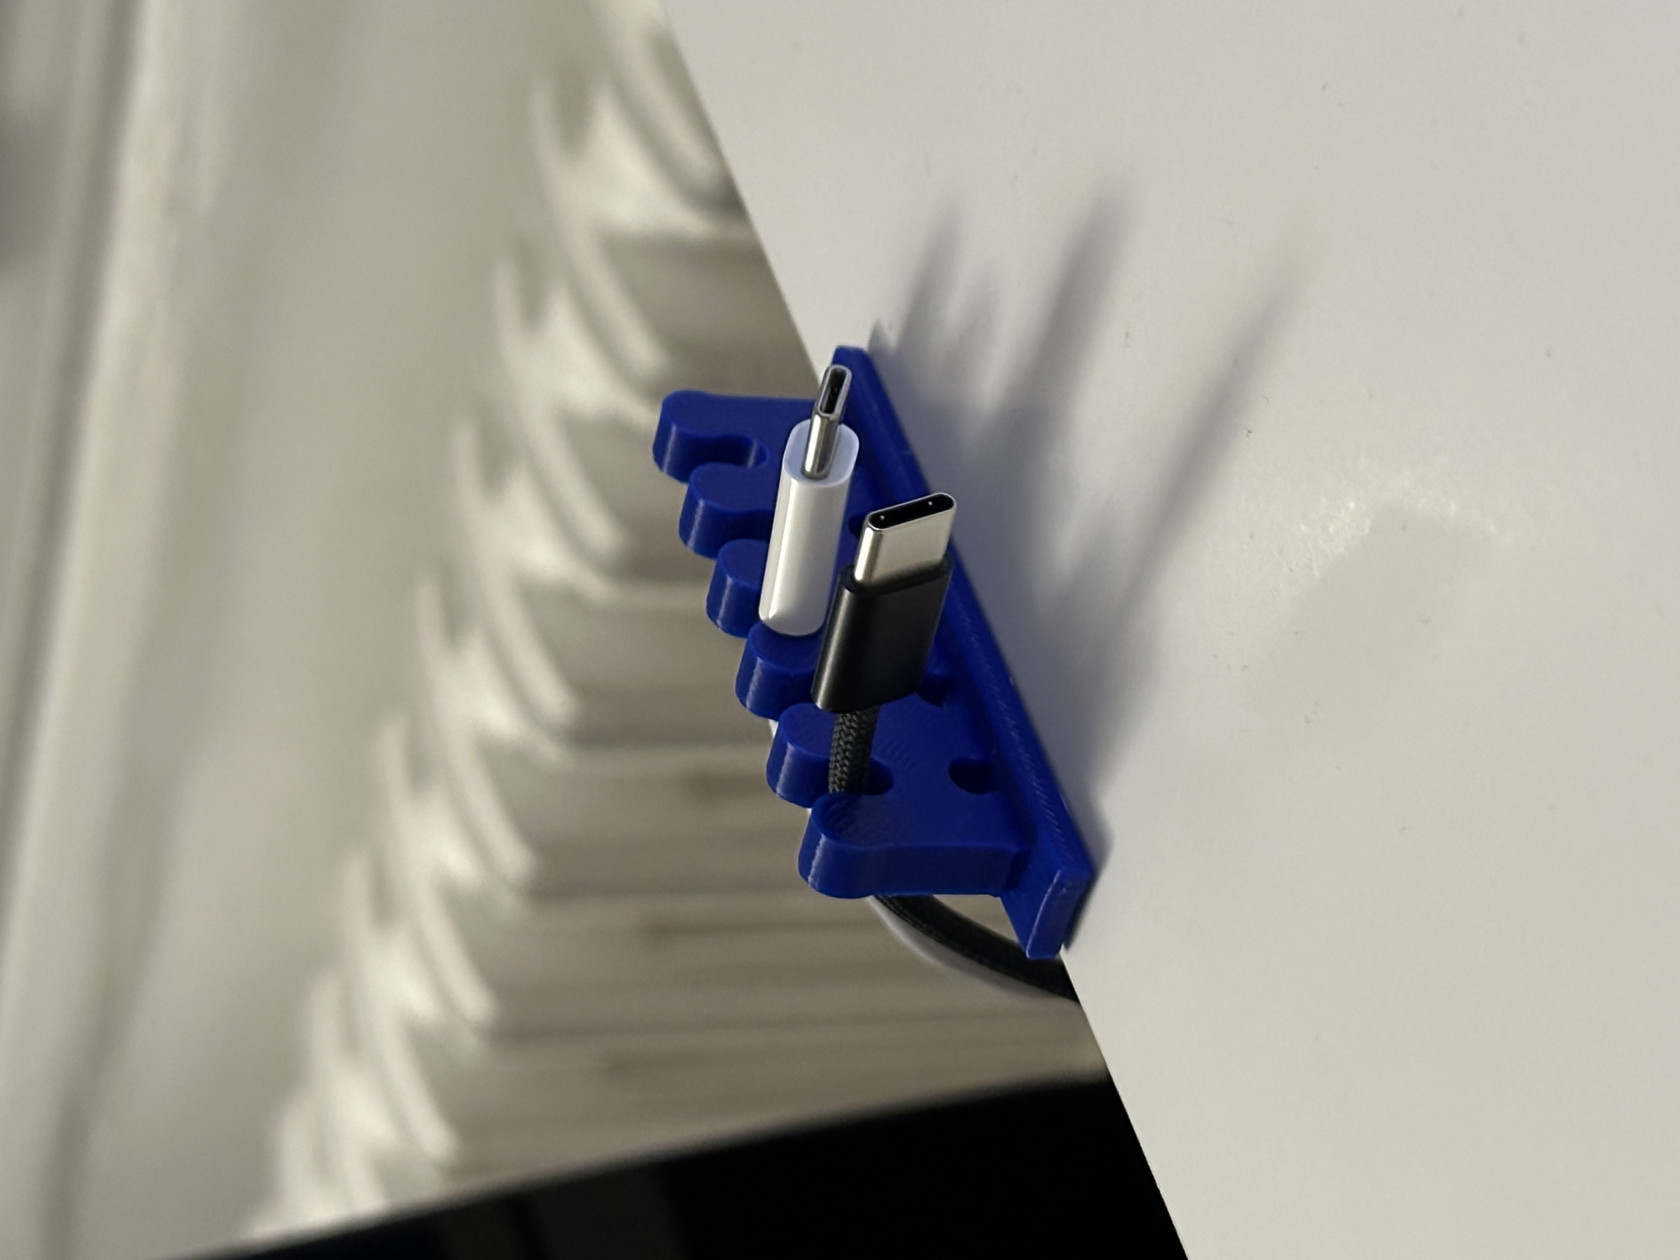
Il sert à organiser toutes les cables sur une table (capacité max : 5 cables).
Les Dimensions :
- 5.25 mm (diamètre maximale d'une cable)
- 7.55 cm longueur
- 2.27 cm largeur
- 1.15 cm hauteur
// Parameters
$fn = 150;
width = 16;
height = 6;
holes = 5;    // Holes per edge
diameter = 5.25;   // Hole diameter
separation = 6.25; // Separation between holes
edge = 3.75;   // Edge roundness
cube_size = [74, 2, 10];    // Dimensions of the cube
edge_radius = 0.75;    // Radius of the rounded edges

union(){
  difference(){

    cube([diameter*holes+separation*(holes+1),width,height]);

    // Loop to create rounded holes on the first edge
    for(i=[0:holes-1]){
      hull(){
        translate([(separation+diameter/2)+(separation+diameter)*i,0.1+diameter/2,-0.05])
          cylinder(r=diameter/2, h=height+0.1); // Create the first cylinder for each hole

        translate([(separation+diameter/2)+(separation+diameter)*i,-diameter/3,-0.05])
          cylinder(r=diameter/2, h=height+0.1); // Create the second cylinder to be connected with the first to create the rounded hole
      }
    }

    // Loop to create rounded holes on the opposite edge
    for(i=[0:holes-1]){
      hull(){
        translate([(separation+diameter/2)+(separation+diameter)*i, width-diameter/2-0.1, -0.05])
          cylinder(r=diameter/2, h=height+0.1); // Create the first cylinder for each hole

        translate([(separation+diameter/2)+(separation+diameter)*i,width+diameter/3,-0.05])
          cylinder(r=diameter/2, h=height+0.1); // Create the second cylinder to be connected with the first to create the rounded hole
      }
    }

  }

    // Adding edges to one side
    for(i=[0:holes]){
        translate([separation/2+(diameter+separation)*i,0,0])
            cylinder(r=edge, h=height);
    }

    // Adding edges to the opposite side (cut into half)
    for (i = [0 : holes]) {
        translate([separation / 2 + (diameter + separation) * i, width, 0])
        translate([0, -edge / 2, 0])    // Offset the position for half-cut edges
            scale([1, 0.5, 1])  // Scale the edge in the Y direction
                cylinder(r = edge, h = height);
  }

  translate([-5,16.25,-2])
  minkowski() {
  cube(cube_size, center = false);
  sphere(r = edge_radius);
}
}
Pour imprimer :
- Importer le fichier .stl dans PrusaSlicer (ou télécharger directement le fichier .bgcode)
- Ajouter des supports (option partout)
- Exporter le fichier dans une clé USB
- Attendre ~30 mn
Objet 2 : Gagdet Impossible
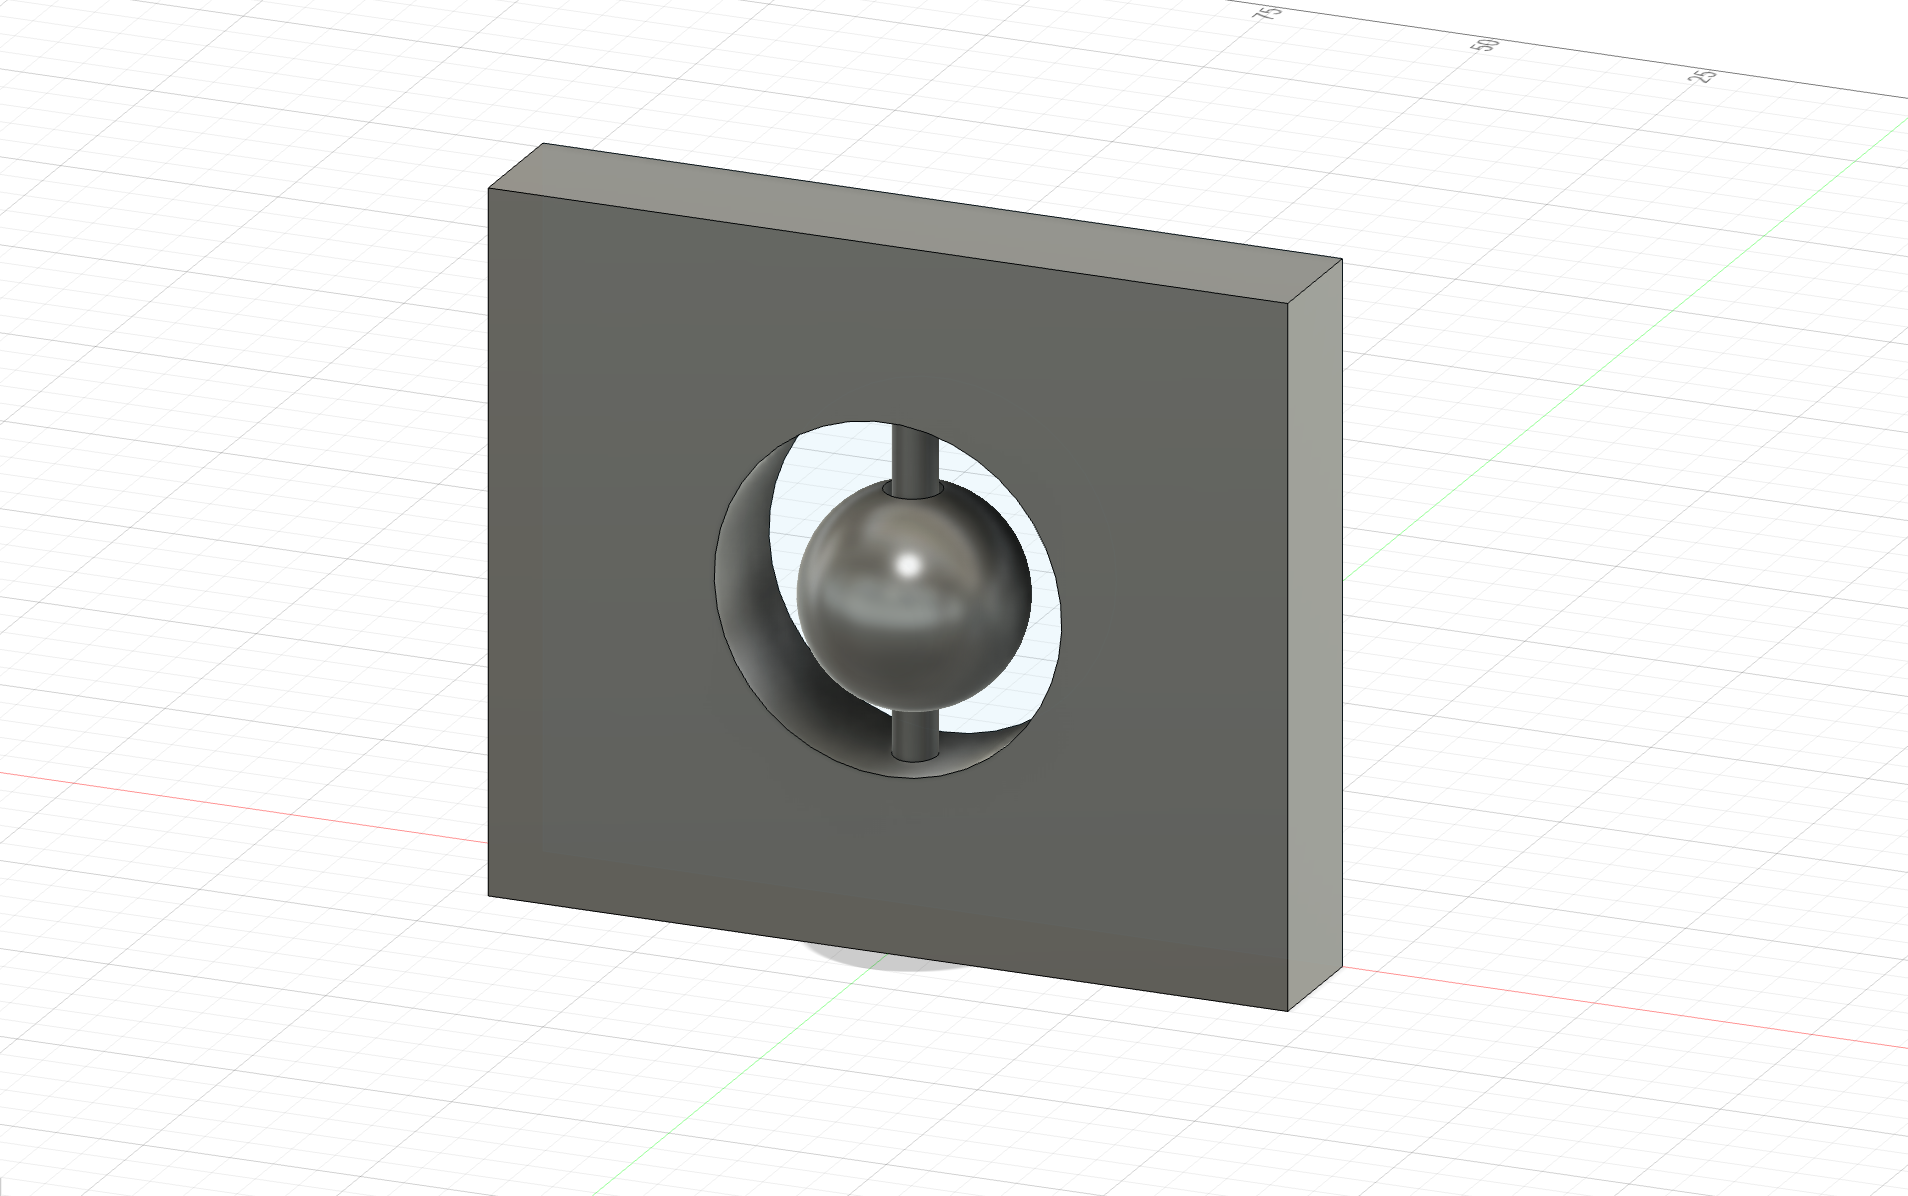
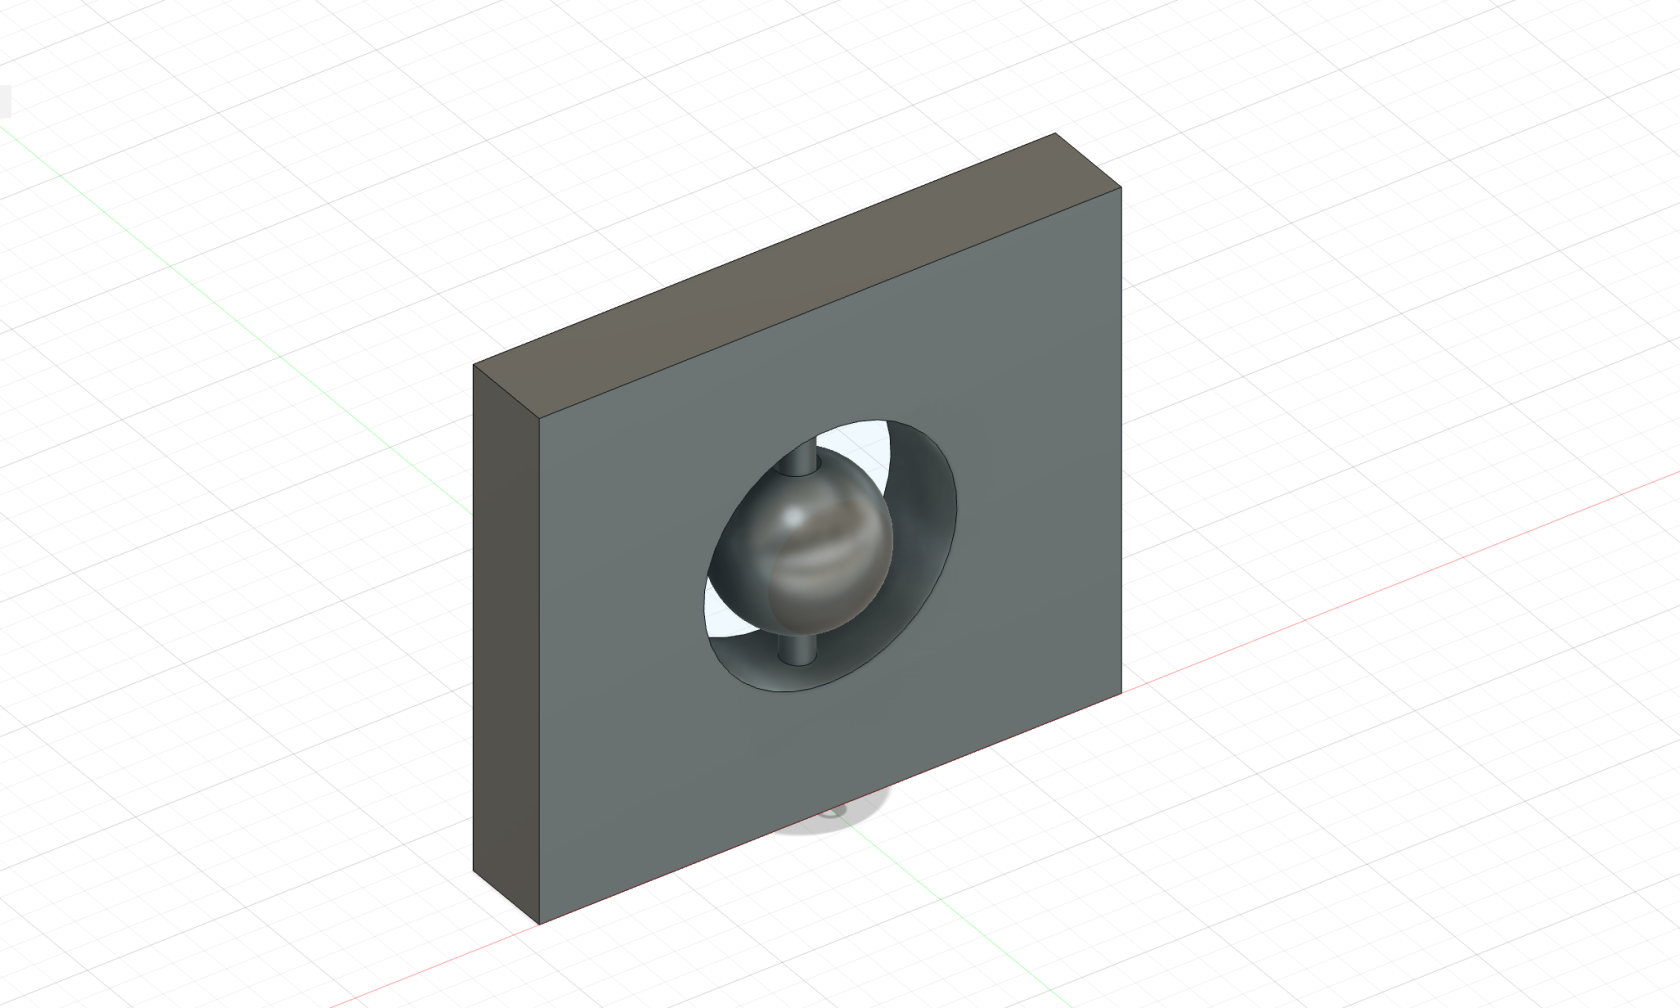
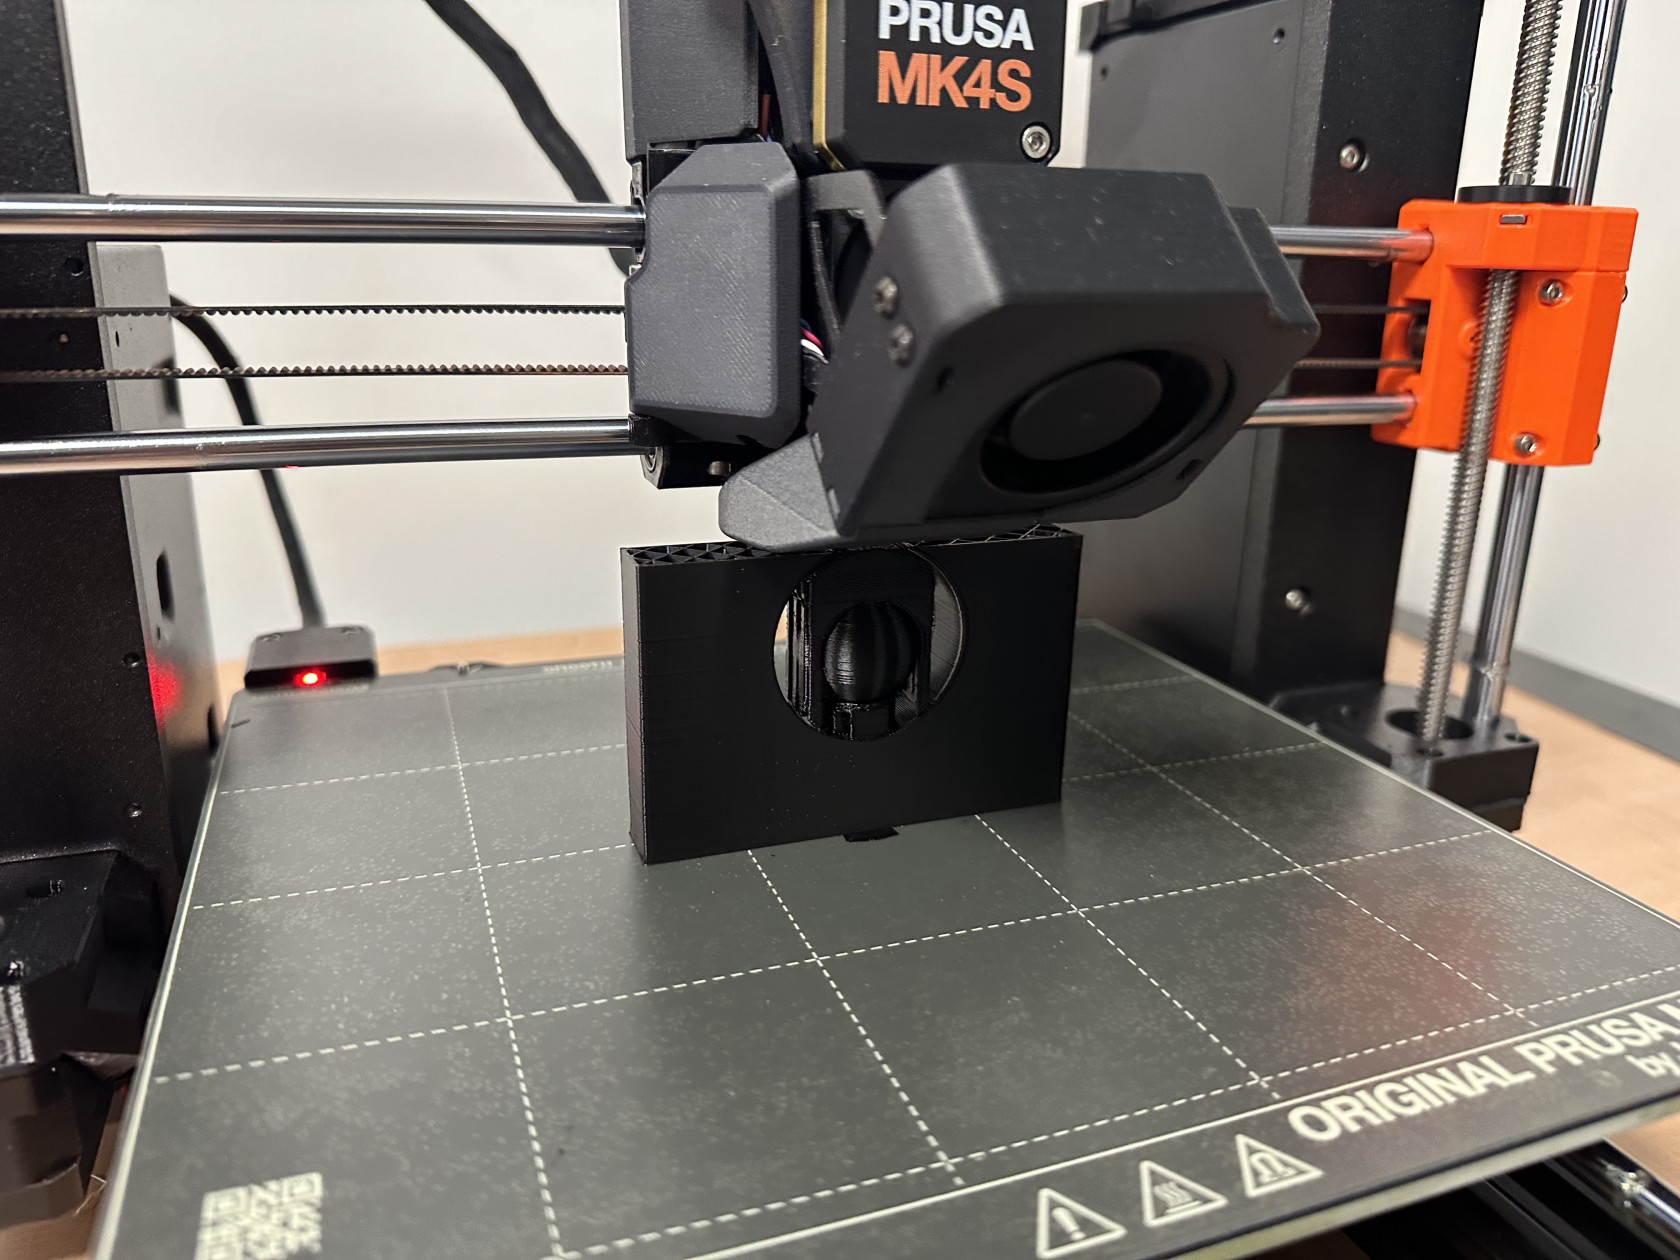
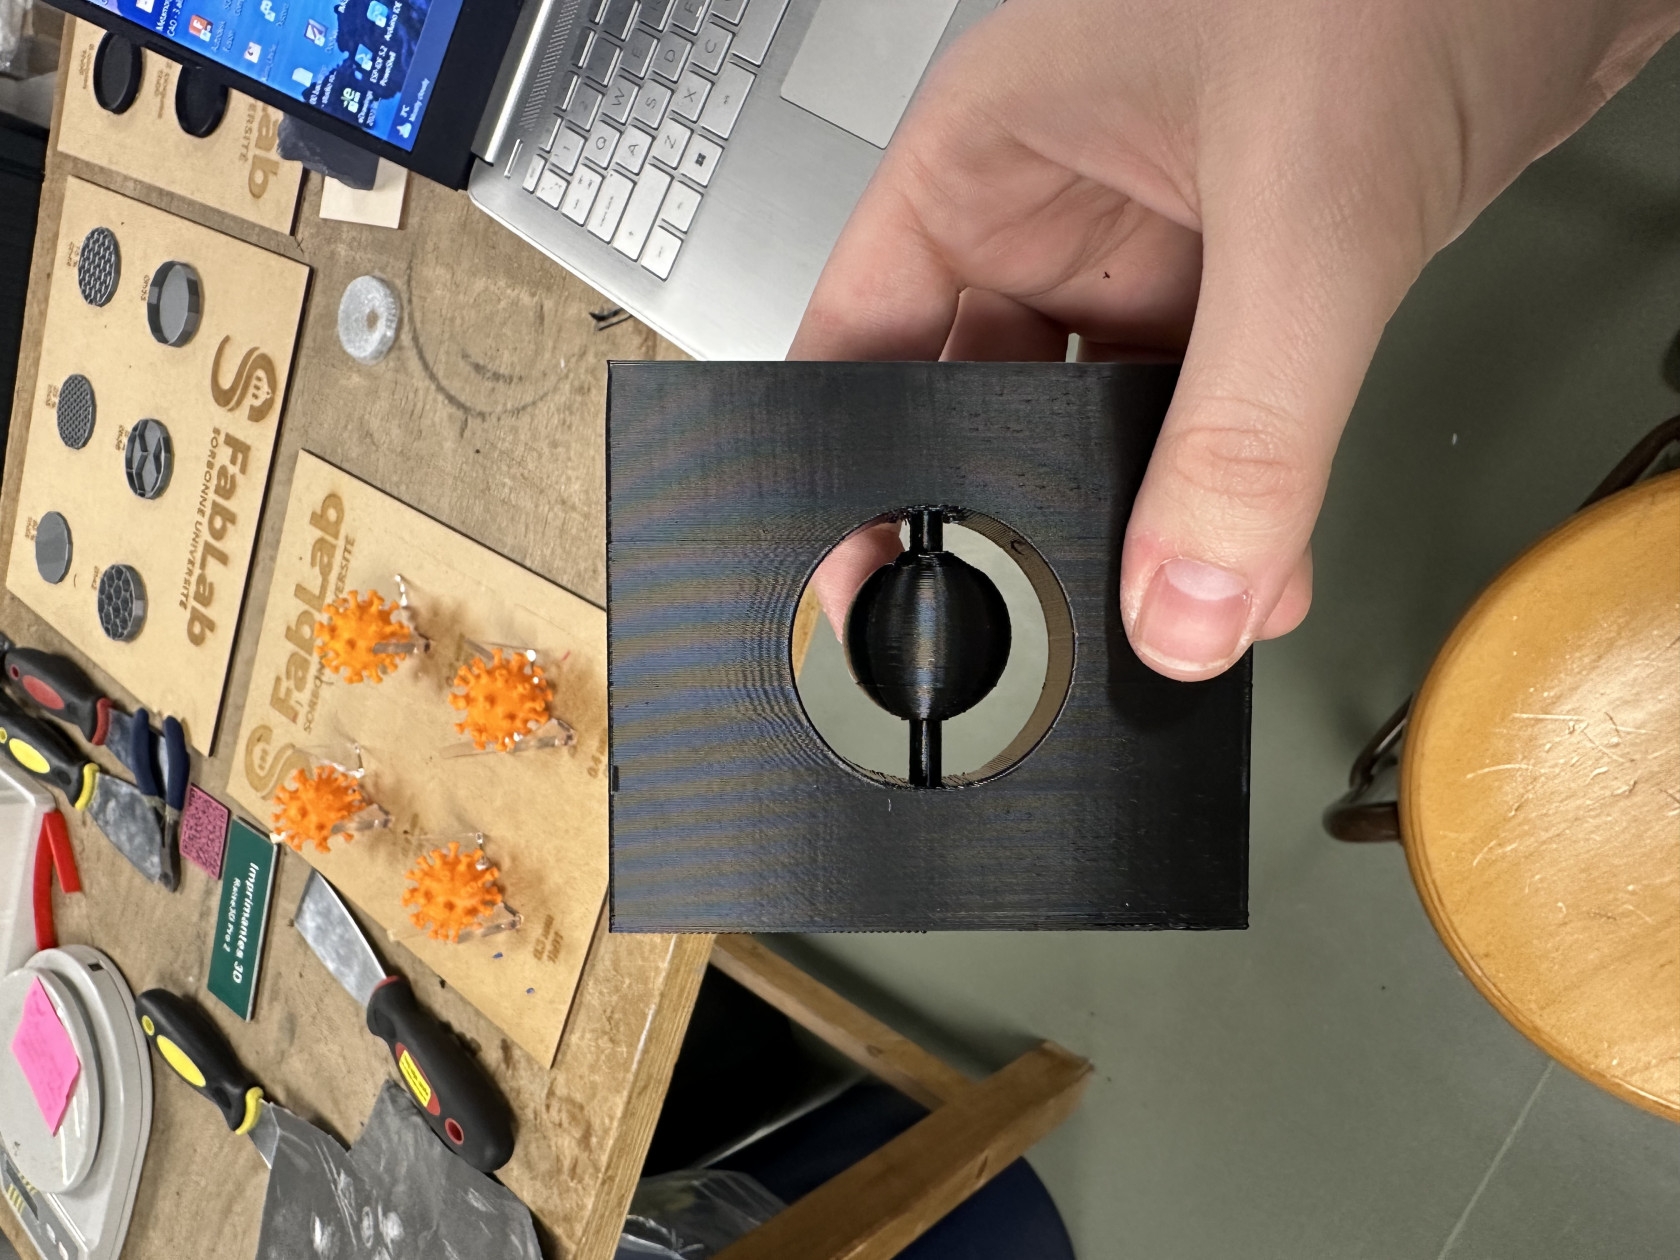
J'ai commencé avec l'idée de créer un objet monolithique contenant une boule capable de tourner librement à l'intérieur. Pour cela, j'ai d'abord créé un cube, puis j'y ai formé un trou traversant dans lequel j'ai placé un cylindre d'un côté à l'autre. Ensuite, j'ai positionné une sphère autour du cylindre sans qu'elle le touche. Pour l'impression, j'ai ajouté des supports partout sauf à l'intérieur de la sphère, afin qu'elle ne touche jamais le cylindre et puisse tourner librement
Pour imprimer :
- Importer le fichier .stl dans PrusaSlicer (ou télécharger directement le fichier .bgcode)
- Ajouter des supports (option partout)
- Exporter le fichier dans une clé USB
- Attendre ~2h30 mn
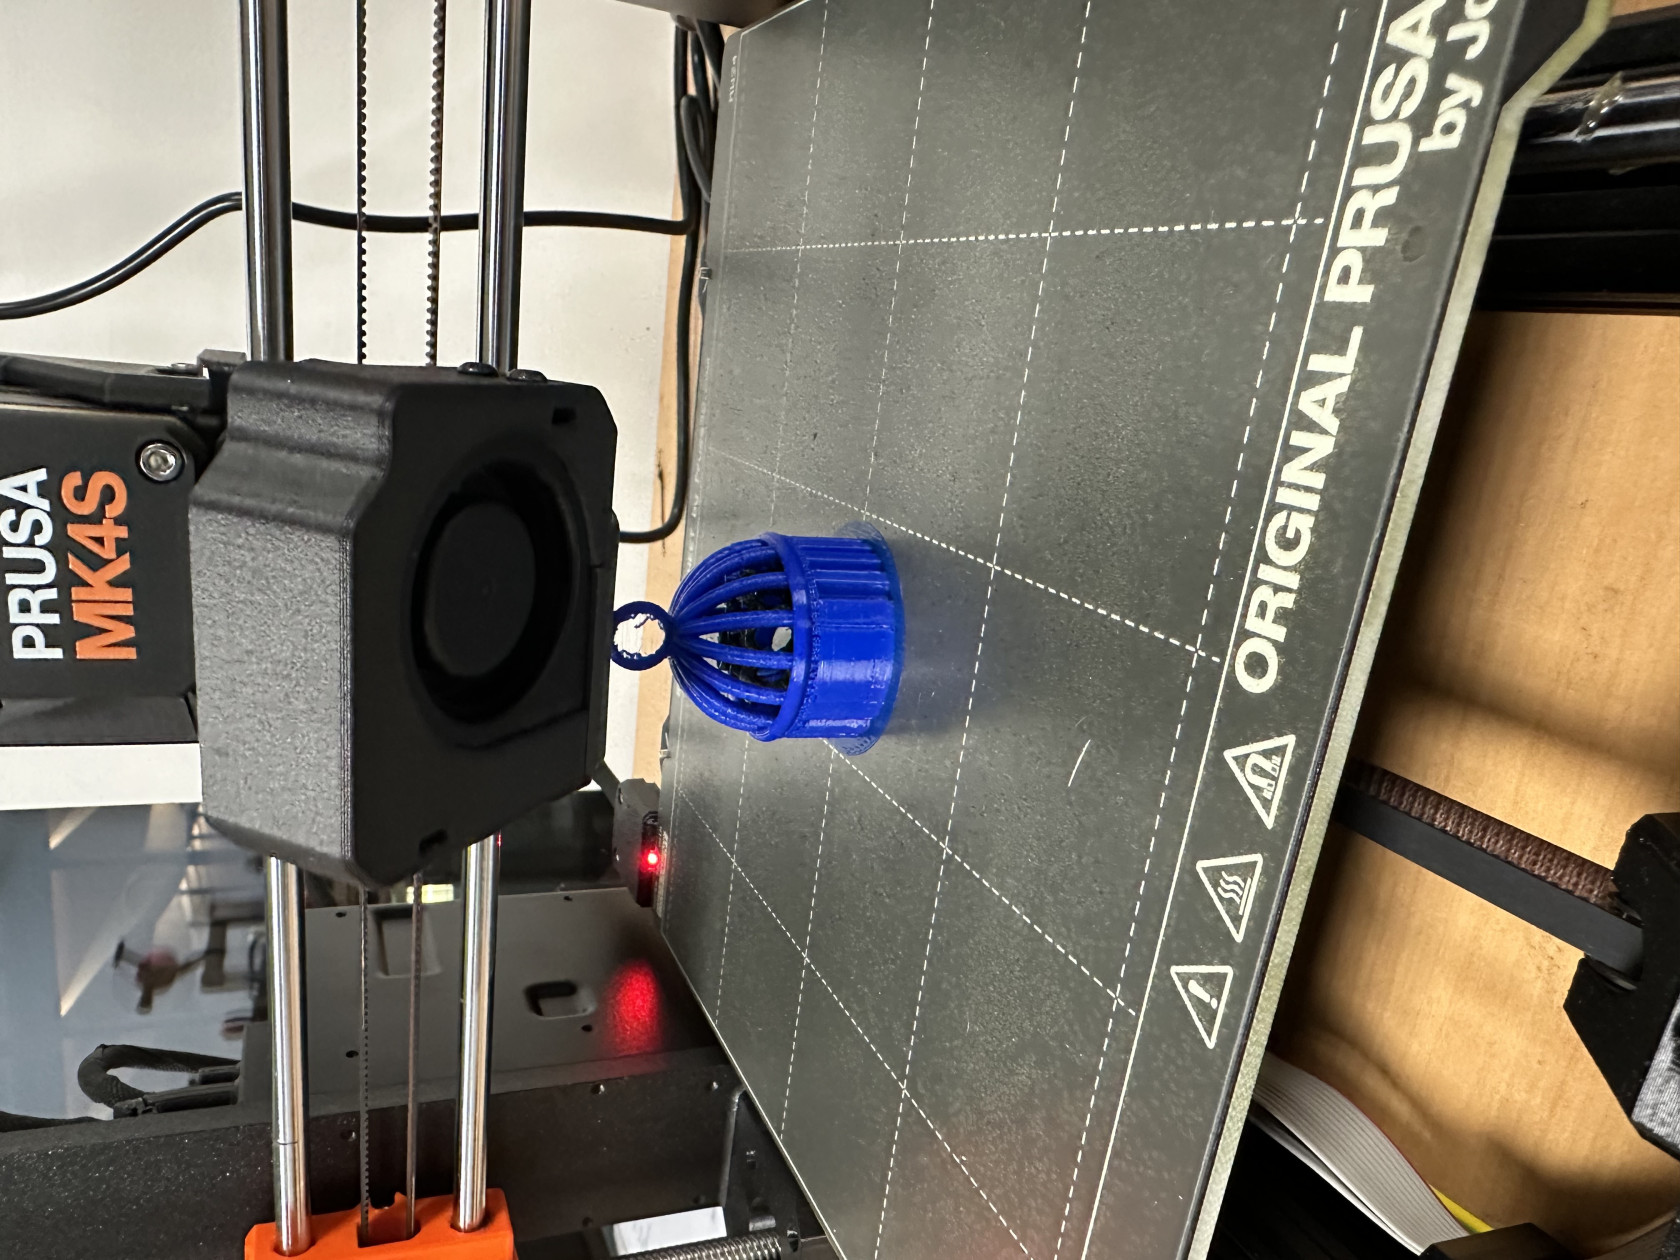
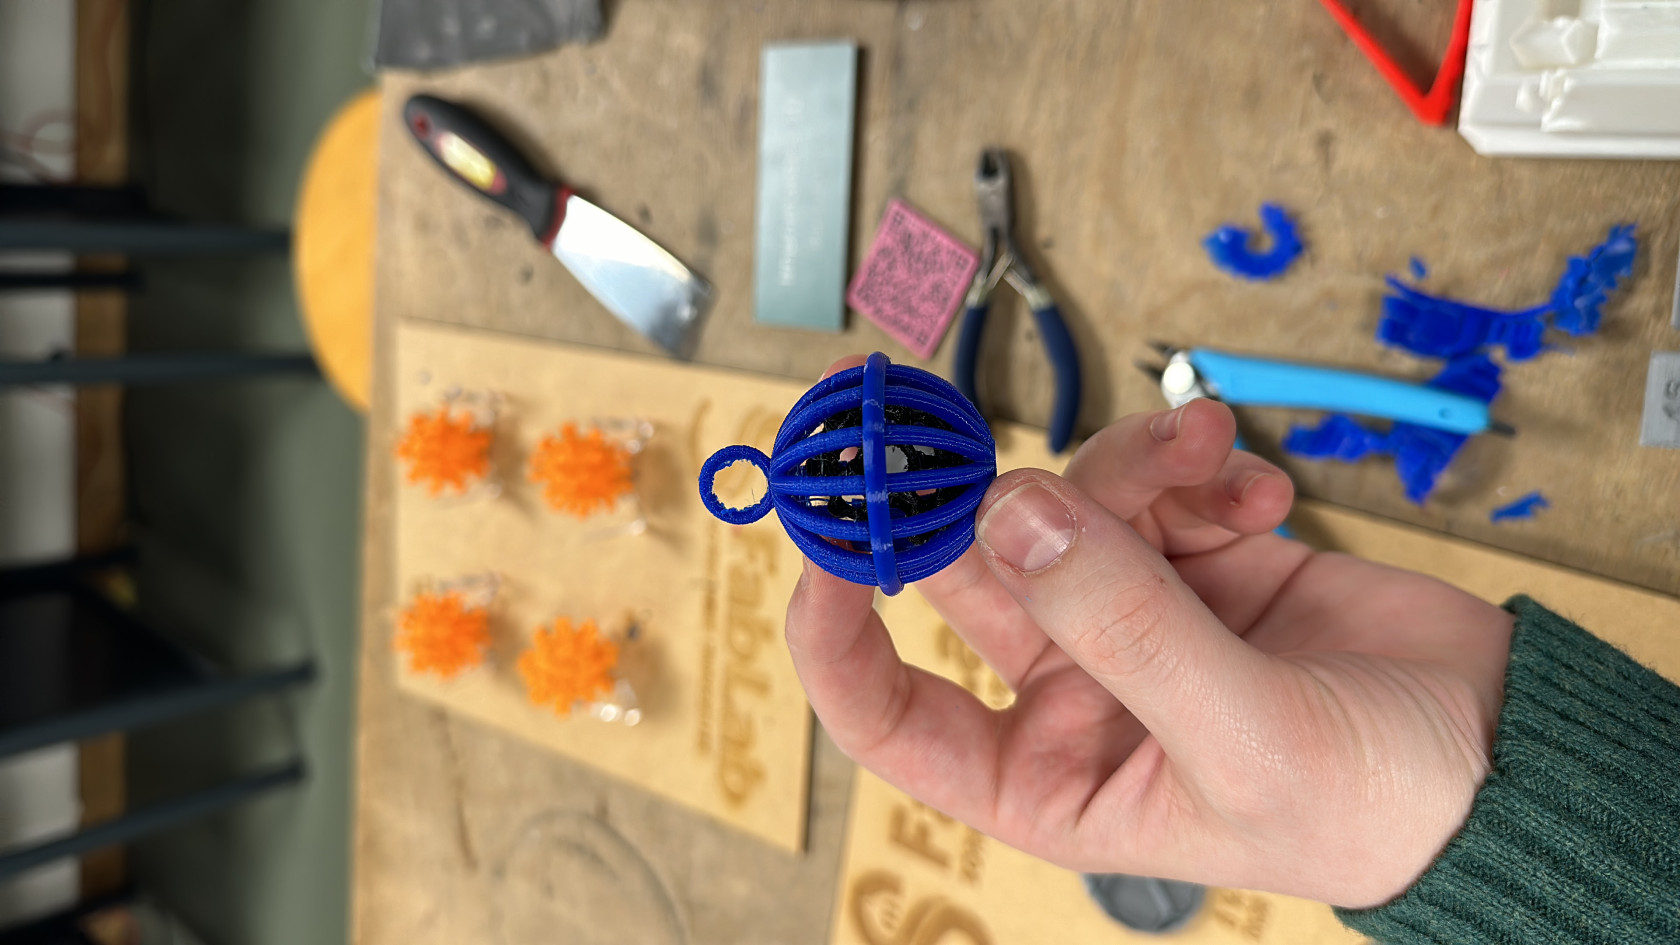
Objet 3 : Cage avec une Boule Dedans
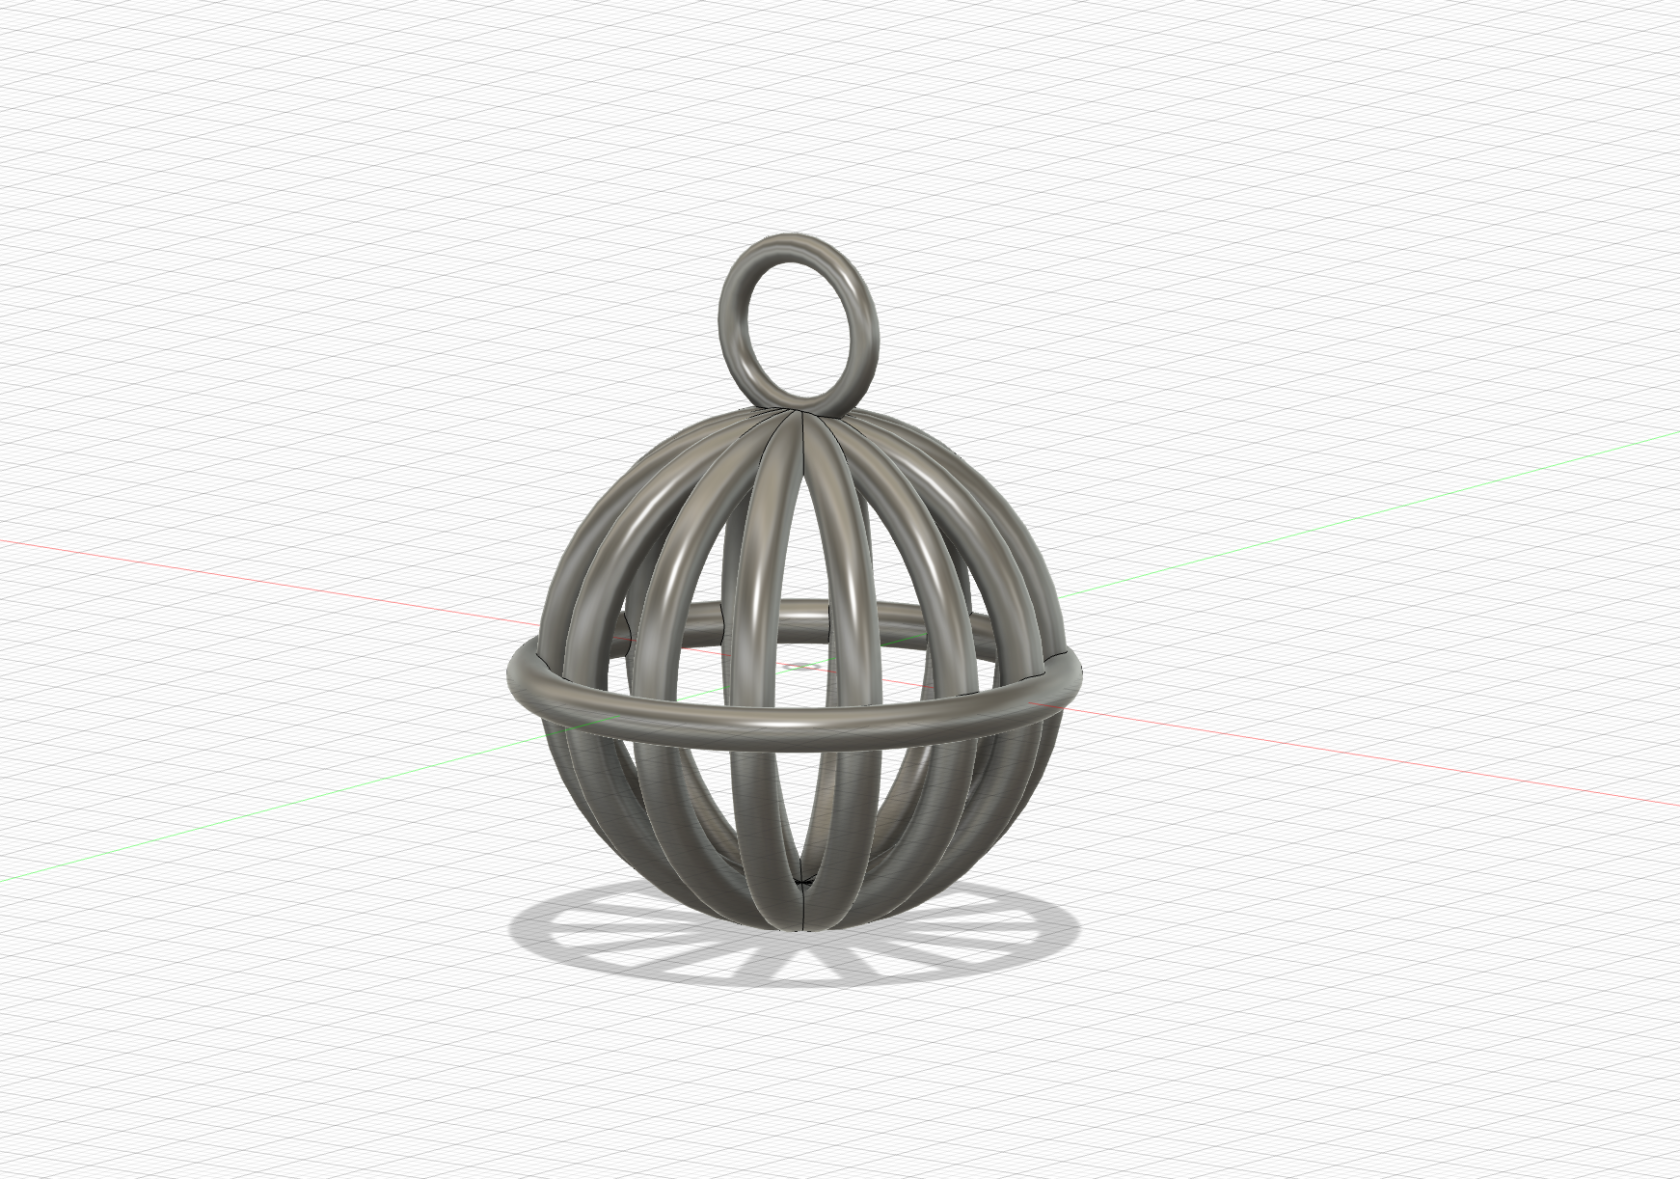
J'ai commencé par créer un anneau vertical que j'ai dupliqué 7 fois autour. Ensuite, j'ai ajouté un anneau plus petit juste au-dessus de la cage créée. Après un premier essai d'impression, j'ai remarqué que, pour conserver la forme stable, je devais ajouter un autre anneau horizontal et des supports tout autour de l'objet (sauf à l'intérieur). Ainsi, j'ai réussi à imprimer correctement la cage.
Pour imprimer :
- Importer le fichier .stl dans PrusaSlicer (ou télécharger directement le fichier .bgcode)
- Ajouter des supports (partout sauf l'intérieur)
- Exporter le fichier dans une clé USB
- Après l'impression de l'anneau au milieu ajouter le petit objet (une boule dans ce cas) au milieu du cage
- Attendre ~1h10 mn
No Comments